
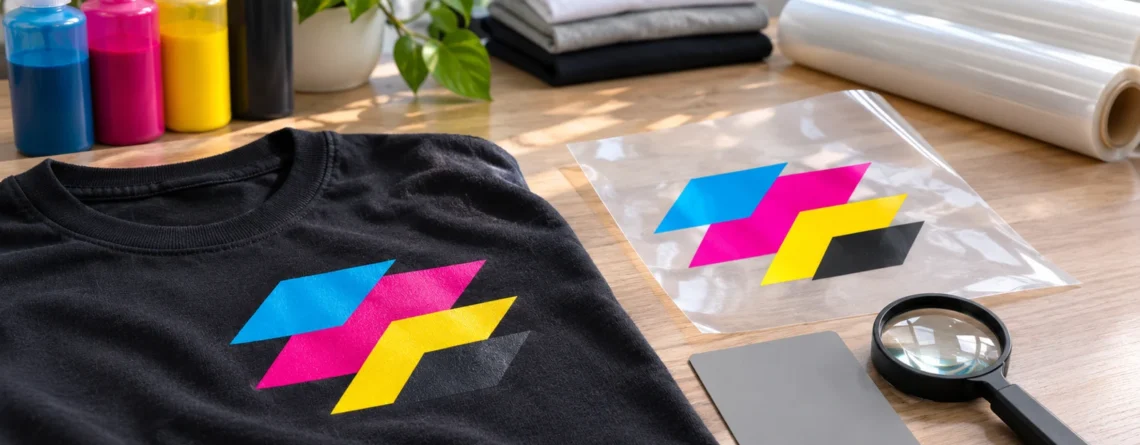
DTF Colours Look Wrong? A Proofing Checklist Before Changing Ink
A customer sends a logo on WhatsApp, approves it on a bright phone screen, and then questions the finished T-shirt. Before replacing ink or increasing saturation, use this DTF colour proofing checklist to identify where the mismatch starts and agree on a repeatable production sample.
This guide focuses on job approval and troubleshooting for Indian T-shirt shops, transfer suppliers and uniform printers. For the underlying terminology, read our DTF colour profiles and ICC profiles guide.
Chat with our team for printers, consumables, film, powder and business setup guidance.
Start with a physical reference
Ask for the original artwork file and its embedded colour profile, where available. Keep the customer’s supplied brand specification with the job. A screenshot or a compressed chat image may be useful for discussing the layout, but it leaves important colour information uncertain.
Agree on how the finished sample will be assessed. Record the actual garment type and colour. If a brand colour must meet a contractual tolerance, arrange an appropriate measured workflow and agree the tolerance before quoting. A phone photograph cannot establish a measured colour difference.
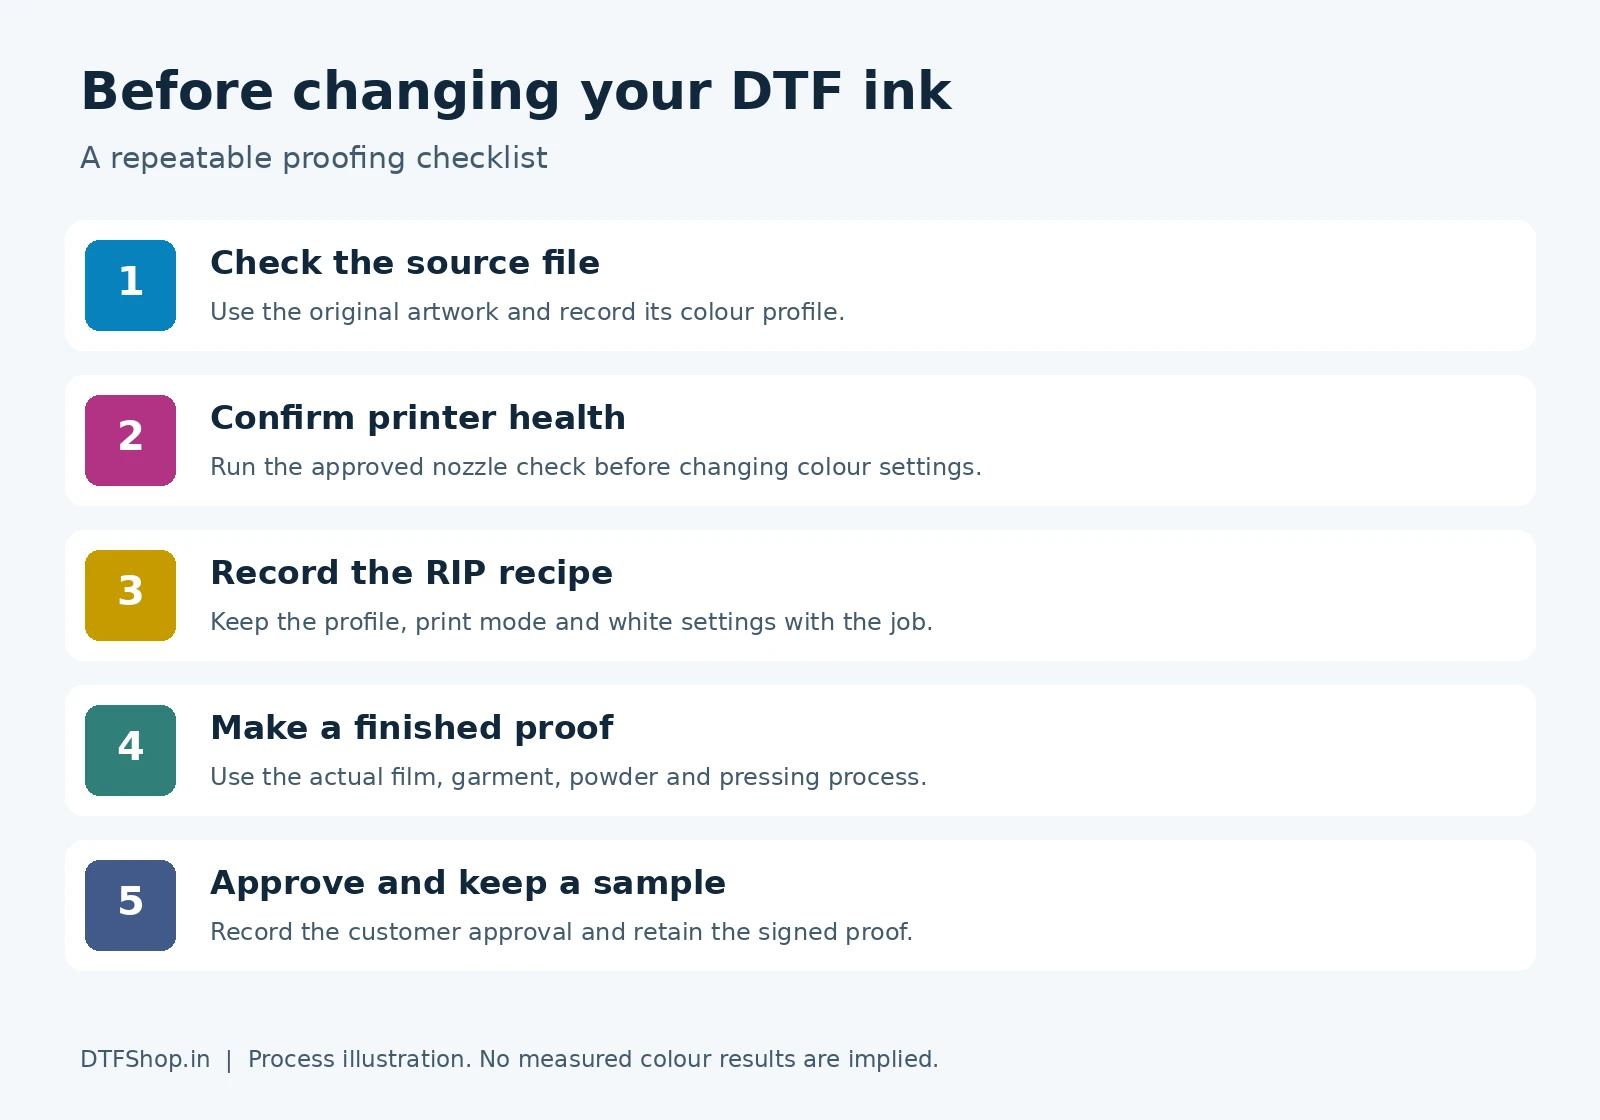
1. Check printer health before adjusting colour
Run the nozzle test prescribed for your printer. Missing colour channels can change the appearance of a print even when the artwork and profile remain the same. Keep a dated photograph of the result alongside the job record.
Resolve an unacceptable nozzle pattern using the manufacturer’s approved procedure or service support before experimenting with colour settings. Changing several RIP controls while a channel is weak makes it harder to identify the cause.
2. Record one RIP recipe
Write down the RIP name and version, selected output profile, media preset, resolution or print mode, ink limits and white-underbase settings. Use the profile and settings recommended for the actual printer and consumable combination.
Check which stage performs colour conversion. Adobe’s printing documentation describes the choice between application-managed and printer-managed colour. In a DTF workflow, follow your RIP supplier’s instructions so an unintended second conversion does not alter the intended output. A generic profile does not guarantee an exact brand-colour match.
3. Make a finished garment proof
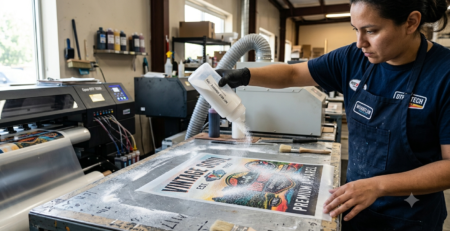
Prepare a small test design containing the customer’s key colours, a neutral grey area, fine details and a gradient. Transfer it onto the actual garment using the intended film, powder, curing and pressing process. Follow the consumable suppliers’ instructions for their compatible materials.
Assess the finished, cooled garment rather than judging the wet film alone. Use the same viewing location for successive samples. Display appearance, print appearance and lighting all affect comparisons. If using soft proofing, remember that its usefulness depends on the display profile and the output profile.
Keep the ink and film details in the job record. For example, if you use the Prolific Premium CMYK and white DTF ink kit or the 12-inch dual-side matte PET transfer film, record the exact product and batch. Confirm compatibility with your printer and follow the product instructions. Reproof the job before using a replacement consumable for a customer batch.
4. Change one variable and retain both samples
| What you observe | What to check next |
|---|---|
| The same file changes after a RIP preset change | Compare the saved profiles, print modes and conversion settings. |
| A colour changes alongside a poor nozzle test | Restore an acceptable nozzle pattern before adjusting the recipe. |
| Film looks acceptable but the garment differs | Compare the white layer, garment and completed transfer process. |
| The customer approves one sample but rejects a repeat | Compare job records and retained physical proofs under consistent lighting. |
These observations guide investigation. They do not diagnose a particular printer fault by themselves.
5. Approve the sample and keep the production record
Label the approved proof with the artwork revision, date, garment, consumable batches and RIP recipe. Record who approved it and which production order it covers. Keep a retained sample and agree what requires a new proof, such as a garment change or a different material combination.
A job record you can copy
- Order reference and artwork revision
- Customer’s reference sample or brand specification
- Printer, nozzle-test result and RIP preset
- Ink, film and powder details
- Garment colour, fabric and batch
- Curing, pressing and peel instructions used
- Sample approval date and approver
Frequently asked questions
Should I change ink immediately when red looks orange?
Check the source file, nozzle pattern, RIP settings and a finished proof first. Seek compatibility guidance before changing ink systems. Avoid mixing unfamiliar inks or using an unverified changeover procedure.
Can one ICC profile work for every DTF setup?
A profile describes a particular output condition. Ask your RIP or equipment supplier which profile applies to your combination, and validate it with a finished sample.
Can a WhatsApp photo serve as final colour approval?
It can record a customer’s response, but the devices, camera and lighting affect what they see. For colour-critical work, agree approval against a physical sample or an appropriate measured reference.
Need help checking your combination? Contact DTFShop product support with the printer model, RIP details, nozzle-check photo and finished-sample photos. Explore our DTF consumables after confirming compatibility.






LEAVE A COMMENT