
DTG Printing – Unbeatable Expert Guide 2025
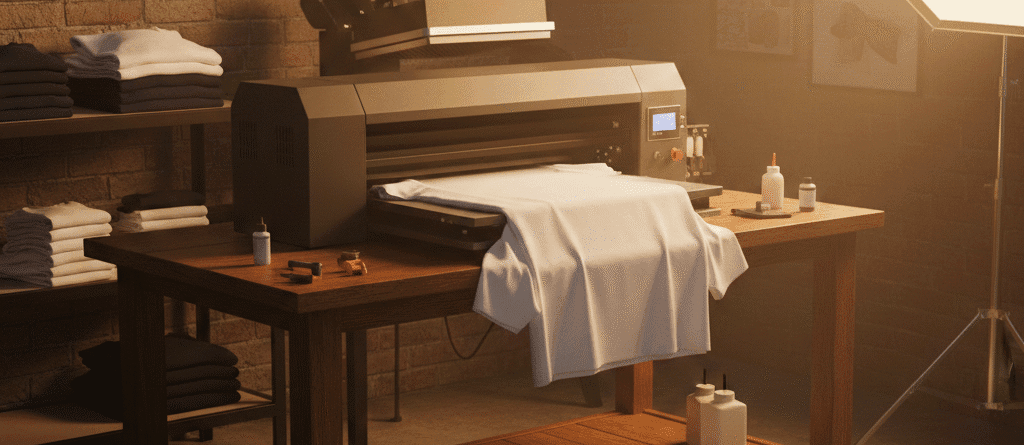
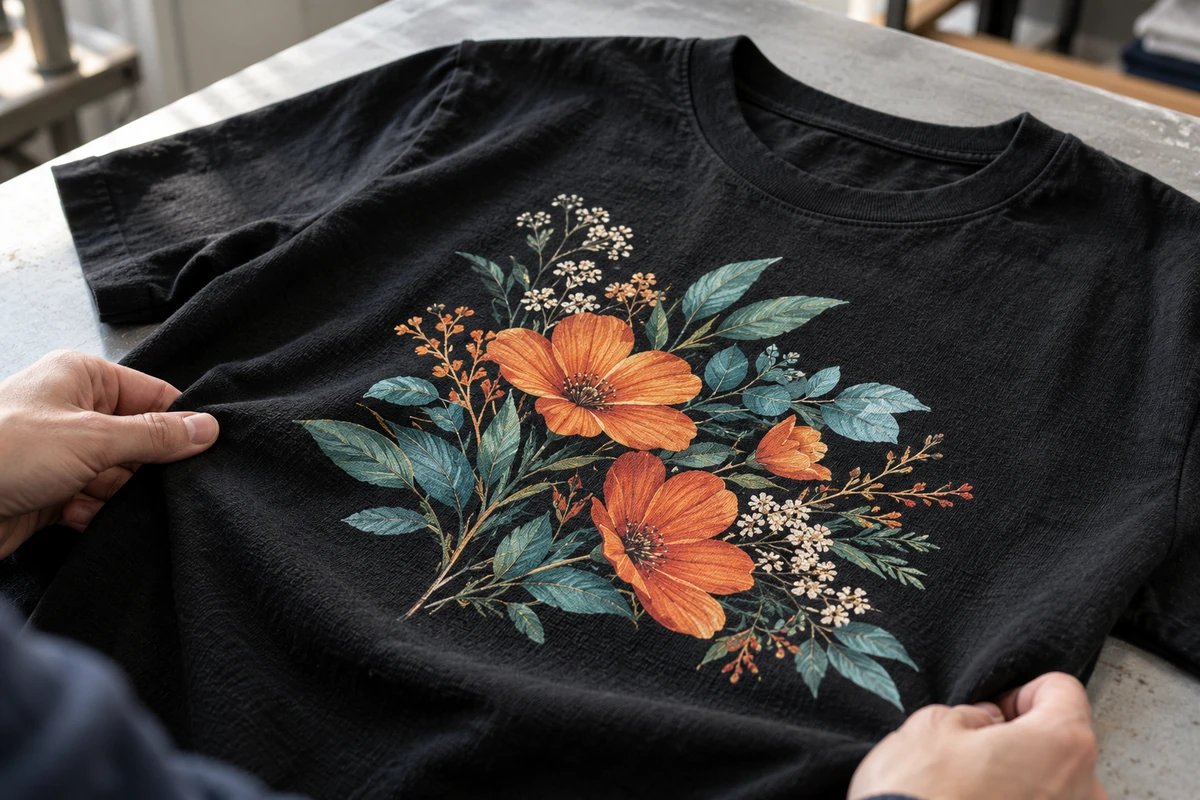
DTG printing means printing a design directly onto a garment with a suitable textile inkjet printer. It is especially useful for detailed cotton T-shirts, personalised orders and small collections where preparing a screen for every colour would be inconvenient.
A good result starts before the print button. Your fabric, pretreatment, artwork, platen setup and curing method all need to work together. This guide explains the workflow, what to check on a sample and which equipment to consider before taking paid orders.
Chat with our team for printers, consumables, film, powder and business setup guidance.
What is DTG printing, and when does it make sense?
With direct-to-garment printing, ink is applied to the garment itself. In garment DTF printing, the design is printed onto film, prepared with adhesive powder and then transferred. They are different workflows; textile DTF powder is not a substitute for DTG pretreatment.
DTG printing can suit a brand selling individual cotton tees, a studio making personalised gifts or a shop testing a new design without holding a large printed inventory. A smooth cotton surface is a useful starting point. Blends, fabric finishes and dark garments need their own sample approval rather than an assumption that every blank will behave the same way.

How the DTG printing process works
Think of the job as a chain of checks. Skipping preparation can spoil an otherwise good print; increasing ink alone will not fix an unsuitable garment or an untested curing process.
From blank garment to approved print
- 1 · Prepare
Choose the fabric, remove lint and confirm the artwork size. - 2 · Pretreat
Use the approved pretreatment where required, then dry as specified. - 3 · Print
Load the garment flat and check platen clearance and the print preset. - 4 · Cure & check
Follow the ink system’s curing instructions; inspect and wash-test a sample.
Use the instructions for your exact printer, ink, fabric and curing equipment. There is no single temperature or time that suits every system.
Pretreatment and drying: check whether your garment and ink combination needs pretreatment, which liquid is approved and how it should be applied. Keep the application even. Dry or fix it according to the supplier’s instructions before loading the garment.
Printing and curing: secure the shirt without wrinkles or raised seams in the print area. After printing, cure the ink using a validated process. A print that looks dry is not automatically ready to survive washing.
Benefits—and the limits worth understanding
- Small orders: change designs without making a new set of screens.
- Detailed artwork: gradients, illustrations and photographic designs can work well when the artwork and colour setup are suitable.
- Cotton print feel: a well-prepared print can have a comfortable finish, although white underbase, ink coverage and pretreatment affect the feel.
- Print on demand: produce against an order rather than committing to every size and design in advance.
DTG printing still involves equipment cost, maintenance, rejected samples and operator time. Compare the cost of a sellable shirt, not only the ink used on the best sample. Water-based ink also does not automatically mean a product is harmless or certified: follow its safety data sheet, handling instructions and ventilation requirements.

Related machines and consumables to consider
Start with equipment that matches your order pattern. The HJD single-platen DTG printer is one catalogue option to discuss with the team. If you are comparing garment handling and production capacity, also review the HJD dual-platen DTG printer. Request a timed demonstration on the fabric and artwork you intend to sell; platen count alone does not establish finished output.
For a compatible HJD workflow, check the HJD DTG pretreatment liquid. Confirm suitability with the printer and ink supplier before ordering. Do not assume this liquid is approved for another manufacturer’s machine.
A 15×15-inch heat press may fit smaller print areas, provided its usable area and performance meet your curing requirements. Larger artwork may require different equipment. Ask about usable size, temperature consistency and pressure before choosing.
A practical setup and sample checklist
1. Start with the actual garment
Test the same fabric composition, colour and supplier batch you plan to use for the order. Remove lint and check for seams or folds in the print area. A smooth-looking shirt is not proof of compatibility.
2. Prepare artwork at the intended size
Check the design dimensions, transparency and fine details before printing. Enlarging a small image cannot recover detail that was never present. Preview the design against the garment colour and use the file format and colour workflow required by your printing software.
3. Record pretreatment and platen setup
Record the liquid, application method and drying process used for your approved sample. Load the garment flat and set clearance according to the machine instructions. Raised fabric can cause a head strike; do not compensate for a poor load by guessing the height.
4. Cure, inspect and test before scaling
Follow the relevant curing instructions, then inspect the finished garment for unwanted marks, uneven coverage and registration problems. Use a documented wash test on a separate sample before making durability promises. Keep an approved sample and the job settings so the next batch has a reference.
Common mistakes to avoid in DTG printing
- Using an unconfirmed consumable: match the ink, pretreatment and cleaning fluid to the machine. DTG, garment DTF and UV fluids are not automatically interchangeable.
- Guessing the pretreatment amount: uneven application can make the finished result inconsistent. Follow the approved method and keep a sample record.
- Ignoring white-ink maintenance: follow the manufacturer’s agitation and maintenance routine rather than treating every ink container the same way.
- Changing several settings at once: keep the garment and artwork consistent while investigating a problem. Record each change so you can identify what helped.
- Using a universal humidity or curing rule: use the operating conditions and curing instructions for your exact equipment and ink system.

Frequently asked questions
Is DTG printing better than DTF?
Choose against the job: fabric, design, desired feel, quantity and available equipment. DTG is worth comparing for cotton apparel; DTF offers a different transfer workflow. Request samples of both if the finish is important to your customer.
How long will the print last?
There is no responsible universal wash-count guarantee. Fabric, ink, pretreatment, curing and care all matter. State the care instructions and use documented tests from your actual production setup.
Can a beginner start?
Yes, with training and time for test garments. Learn loading, daily maintenance, consumable handling and sample approval before promising delivery dates. Do not plan the business around a guaranteed number of training days.
Do I need an automatic pretreatment machine?
Choose an approved application method that your operator can control consistently. Discuss repeatability, space, cleaning and expected output with the equipment supplier; buying automation does not remove the need to validate the result.
Keep a reliable reference beside the machine
The Epson SureColor F2270 user guide is an example of a manufacturer’s model-specific workflow covering pretreatment, garment loading and ink fixing. Its settings and approved supplies apply to that system; they are not HJD instructions. For your own printer, keep the current supplier manual and safety data sheets available.
Build confidence with one approved garment
The best starting point for DTG printing is a repeatable sample, not a large first order. Choose the blank, confirm compatible supplies, record the process and inspect the result. Once the sample meets your customer’s expectations, use that reference to plan pricing, production time and the next equipment purchase.




LEAVE A COMMENT