
DTF Printing Success Guide: 8 Powerful Steps to Build a Profitable Workflow
Table of Contents
Introduction
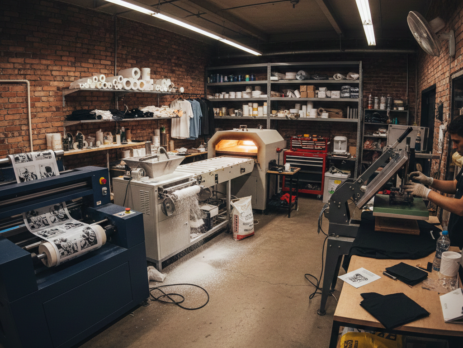
DTF Printing has quickly become a favorite method for small print businesses. It is flexible, cost-effective, and works on almost any fabric. Unlike screen printing, you do not need complex setups. Unlike DTG, you are not limited to cotton only.
Many small business owners start with DTF Printing because it fits well in limited spaces and does not require huge investments. From custom t-shirts to hoodies and tote bags, this workflow helps deliver consistent results with less waste.
This guide explains the full DTF Printing workflow in simple steps, based on real shop practices.
Benefits for Small Businesses
DTF Printing is practical for daily production. Here is why small shops prefer it:
• Works on cotton, polyester, blends, and dark fabrics
• No fabric pre-treatment needed
• Easy to store printed films for later use
• Lower setup cost compared to screen printing
• Suitable for short runs and custom orders
A small shop can accept single-piece orders without worrying about setup loss. That is a big advantage in today’s personalized market.

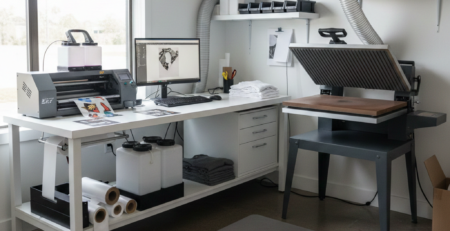
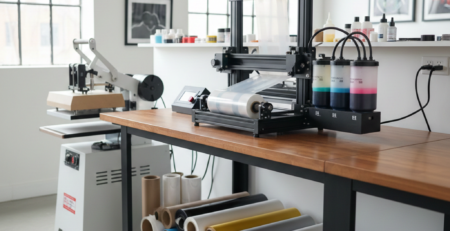
Essential Equipment Needed
To start DTF Printing smoothly, you need a few core items. Quality matters here more than quantity.
Most small businesses use:
• DTF Printer
• PET DTF Film
• DTF Ink (CMYK + White)
• Adhesive Powder
• Curing method (oven or heat press hover)
• Heat Press Machine
Reliable consumables help avoid reprints. Many shop owners prefer consistent supplies like DTF Transfer Film Roll from DTFshop.in and DTF White Ink from DTFshop.in for predictable output.

Step 1: Design Preparation
Design is the foundation of DTF Printing. Clean artwork saves time later.
Key points:
• Use transparent background
• Convert text to outlines
• Mirror the design before printing
• Set correct color profile
Most printers use software like Photoshop or RIP software. If your design looks dull on screen, it will look worse on fabric.
Practical tip: Slightly boost contrast and saturation for better fabric results.
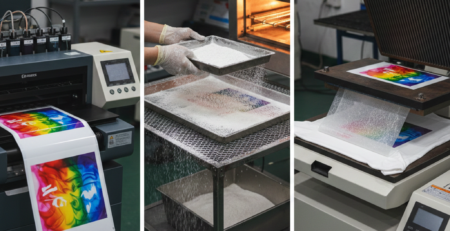
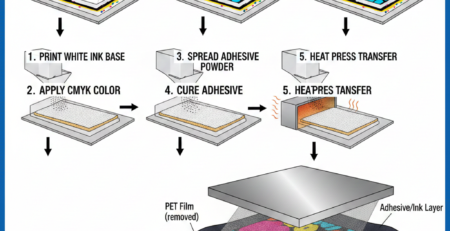
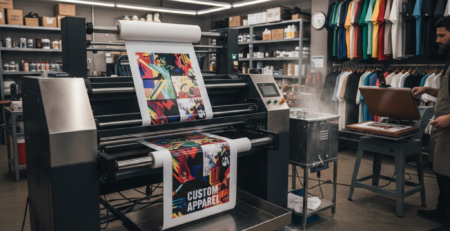
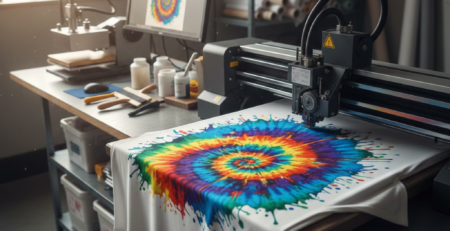
Step 2: Printing on Film
This step defines print quality. The design is printed on PET film using DTF inks.
Important settings:
• Print white ink layer properly
• Avoid over-inking
• Maintain nozzle health
Using stable inks such as DTF Color Ink Set from DTFshop.in helps reduce banding and clogging issues. Print on the matte side of the film for proper adhesion.
Let the print rest for a few minutes before applying powder.
Step 3: Powder Application
After printing, adhesive powder is applied while the ink is still wet.
Steps:
• Sprinkle powder evenly
• Shake off excess
• Cover all printed areas
Uneven powder causes patchy transfers. Fine powder works well for detailed designs, while medium powder suits bold graphics. Many small shops rely on DTF Hot Melt Powder from DTFshop.in for consistent bonding.

Step 4: Curing the Powder
Curing melts the adhesive powder and prepares the transfer.
You can cure using:
• Dedicated curing oven
• Heat press in hover mode
Ideal temperature ranges between 130–150°C depending on powder type. The surface should look glossy, not burnt.
Common mistake: Overcuring makes transfers stiff and brittle.
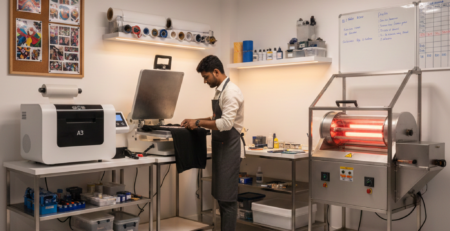
Step 5: Heat Press Transfer
This is where the design meets the fabric.
Steps:
• Pre-press garment for moisture removal
• Place transfer on fabric
• Press at 150–160°C for 10–15 seconds
Use medium pressure. Too much pressure can flatten the design. Too little can cause peeling.
A reliable press paired with DTF Heat Press Machine from DTFshop.in improves consistency for bulk orders.
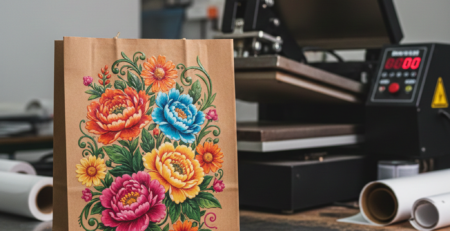
Step 6: Peeling and Finishing
Depending on film type, peeling can be hot, warm, or cold.
After peeling:
• Re-press with parchment paper
• Press for 5 seconds
This improves durability and soft feel. Finished prints should stretch without cracking.
Workflow Optimization Tips
Small improvements make a big difference.
• Batch print similar designs
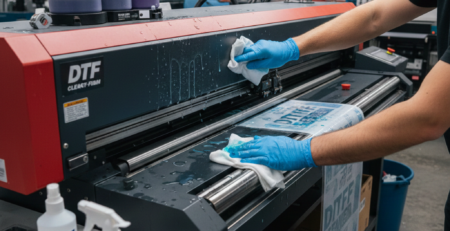
• Clean printheads daily
• Store films flat and dry
• Label cured transfers
Using organized trays for printed films saves time during rush orders.
Common Challenges and Solutions
Ink clogging
→ Use quality ink and daily nozzle checks
Design cracking
→ Reduce pressure and improve curing balance
Poor wash durability
→ Increase final re-press time
Color mismatch
→ Calibrate RIP profiles
Most problems in DTF Printing come from rushing steps, not from equipment.
Cost Analysis for Small Scale
Approximate small business costs:
• Initial setup: ₹80,000–₹2,00,000
• Per print cost: ₹20–₹40
• Selling price: ₹300–₹700 per garment
DTF Printing allows faster break-even compared to screen printing setups.
Scaling Up Strategies
Once orders grow:
• Upgrade to faster printers
• Add second heat press
• Hire one finishing operator
• Stock bulk consumables
Some shops scale by selling pre-printed transfers online, not just finished garments.
Conclusion and Next Steps
DTF Printing is one of the most flexible printing methods for small businesses today. The workflow is simple, scalable, and forgiving for beginners.
Focus on consistency, not speed. Start small, master the steps, and grow steadily. With the right workflow and materials, DTF Printing can become a stable income stream.
Product Suggestions (Blue Color)
• DTF Transfer Film Roll
• DTF White Ink
• DTF Color Ink Set
• DTF Hot Melt Powder
• DTF Heat Press Machine
External References + Credits
Helpful resources for deeper learning:
• PrintIndustry.com – Printing technology insights
• Fespa.com – Industry standards and trends
• InkJetInsights.com – Ink behavior and print quality
Credit: Information references from Fespa, PrintIndustry, and other public sources.

Leave a Reply