
DTF Print Mastery: 10 Proven Ways to Test DTF Print Quality as a Beginner
Table of Contents
Introduction to DTF Print Quality
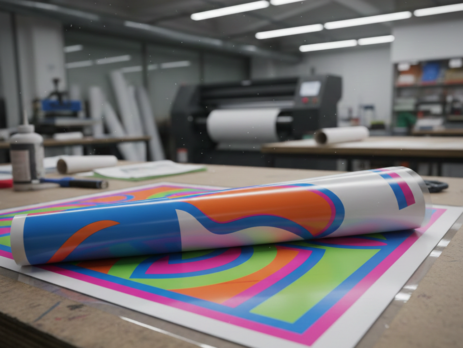
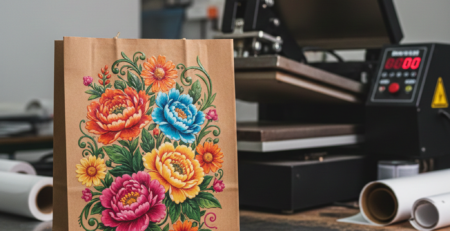
If you are new to DTF printing, one thing becomes clear very fast — print quality matters more than speed. A good DTF Print should look sharp, feel smooth, and last long after washing. Beginners often rush straight to selling or production without properly testing their prints. That usually leads to cracking designs, fading colors, or unhappy customers.
Testing DTF Print quality is not complicated. You do not need a lab or expensive tools. You just need the right process, patience, and a few basic checks. In this guide, you will learn simple and practical ways to test DTF Print quality before doing real jobs.
Everything here is beginner-friendly and based on real printing experience.
Essential Tools and Materials
Before testing any DTF Print, you need the right materials. Poor materials always give poor results, no matter how good the printer is.
Here are the basics:
• DTF Printer
• PET Film (hot or cold peel)
• DTF Ink
• Adhesive Powder
• Heat Press
• Cotton fabric for testing
Using reliable supplies saves time and reduces mistakes. Many beginners start with standard consumables like DTF PET Film Roll and DTF Textile Ink Set. These give stable output and are easy to control during testing.
Also keep a notebook. Write down settings and results. It helps a lot later.

Visual Inspection Basics
The first test of any DTF Print starts before pressing it on fabric.
Look at the printed film carefully.
Check these points:
• Are colors bright and even?
• Is white ink properly layered?
• Are lines sharp or blurry?
• Any ink bleeding on edges?
Hold the film under light. A good DTF Print will show clean edges and smooth ink layers. If text looks fuzzy or thin, adjust resolution or ink density.
A common beginner mistake is skipping white ink checks. Without solid white ink, prints look dull on dark fabric.
Using a consistent powder like DTF Adhesive Powder – Medium Grain helps maintain uniform bonding later.

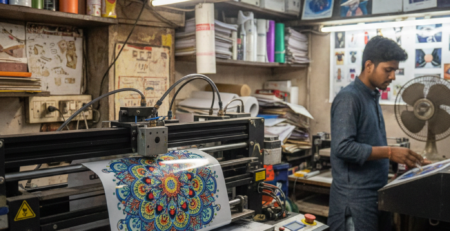
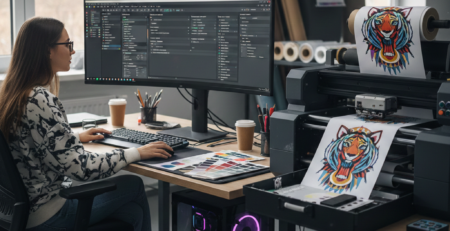
Printing Test Patterns
Never start with customer designs.
Always print test patterns.
Good test designs include:
• Color bars (CMYK + white)
• Small text (3–5 pt)
• Fine lines
• Solid color blocks
These patterns reveal problems quickly. A proper DTF Print should show no color gaps, no missing ink, and no rough texture.
Print the same pattern using different settings. Compare results side by side. Small adjustments make big differences.
Many professionals recommend starting with basic ICC profiles and adjusting slowly rather than random changes.
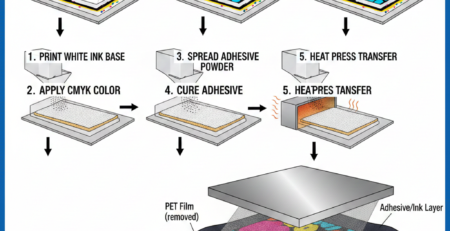
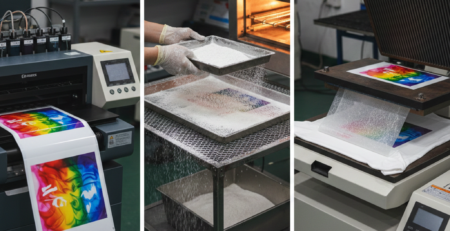
Powder Application Check
Powdering is one of the most ignored steps in DTF printing.
After printing:
• Apply powder evenly
• Shake off extra powder
• Check corners and edges
Too much powder makes prints thick and rubbery. Too little powder causes poor adhesion.
A good DTF Print powder layer looks soft and even, not clumpy.
Cure the powder correctly using a heat press hover method or curing oven. Uneven curing causes peeling issues later.
Heat Transfer Testing
This is where your DTF Print meets real fabric.
Use 100% cotton fabric for testing. Set heat press temperature usually between 150–160°C with medium pressure.
Steps:
- Place transfer on fabric
- Press for 10–15 seconds
- Cool if cold peel film
- Peel slowly
- Re-press for 5 seconds
A quality DTF Print should stick fully, with no lifting edges.
Beginners often press too lightly. If the print lifts after peeling, increase pressure slightly.
Using stable films like Cold Peel DTF Film – Premium Grade makes this process smoother.

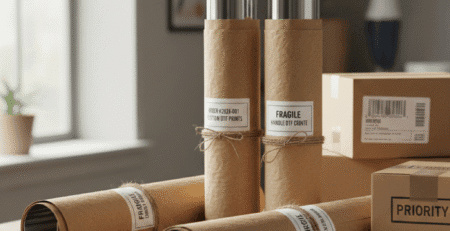
Durability and Wash Tests
This is the real test of DTF Print quality.
Wait 24 hours before washing.
Wash test method:
• Turn garment inside out
• Cold water
• Mild detergent
• No dryer
After washing, check:
• Cracks
• Fading
• Edge lifting
• Texture change
A good DTF Print survives 10–15 washes easily without damage.
Stretch the fabric lightly. The print should stretch, not break.
If cracking appears early, the issue is usually curing or pressure.
Common Issues and Fixes
Here are common beginner problems and easy fixes:
Faded Print
→ Increase white ink density
Edges Lifting
→ Increase pressure or powder coverage
Rough Texture
→ Reduce powder or curing time
Cracking After Wash
→ Improve re-press time
Using quality inks like DTF White Ink – High Opacity reduces many of these issues.
Tips for Consistent Results
Consistency matters more than speed.
Helpful habits:
• Use same fabric for tests
• Keep room humidity stable
• Clean print heads regularly
• Log every setting
• Test one change at a time
Avoid changing everything together. That only creates confusion.
Professional DTF Print operators focus on repeatability, not perfection on the first try.
Conclusion and Next Steps
Testing DTF Print quality is not difficult, but it needs patience. Every step – printing, powdering, pressing, and washing – plays a role.
As a beginner, your goal is not speed or mass production. Your goal is stable and repeatable quality.
Start with simple designs. Test often. Take notes. Improve slowly.
Once your DTF Print passes visual, press, and wash tests, you are ready for real orders.
Product Suggestions (Used Naturally in Content)
• DTF PET Film Roll
• DTF Textile Ink Set
• DTF Adhesive Powder – Medium Grain
• Cold Peel DTF Film – Premium Grade
• DTF White Ink – High Opacity
External References + Credits
Helpful reading sources:
• PrintIndustry.com
• Fespa.com
• InkJetInsights.com
Credit: Information references from Fespa, PrintIndustry, and other public sources.

Leave a Reply