
DTF Printer Installation Guide: Powerful Beginner Setup Made Easy 2026
Introduction to DTF Printing
DTF printing is becoming popular because it is easy, flexible, and works on many fabrics. If you are new, the biggest challenge is DTF printer installation. Many beginners feel confused during setup, but honestly, once you understand the steps, it becomes simple.
In this guide, I will walk you through DTF printer installation in a practical way. No complicated terms. Just clear steps based on real usage.
Unboxing and Required Supplies
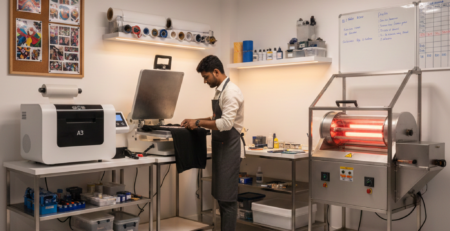
When your printer arrives, open the box carefully. Do not rush. Check everything one by one.
You should have:
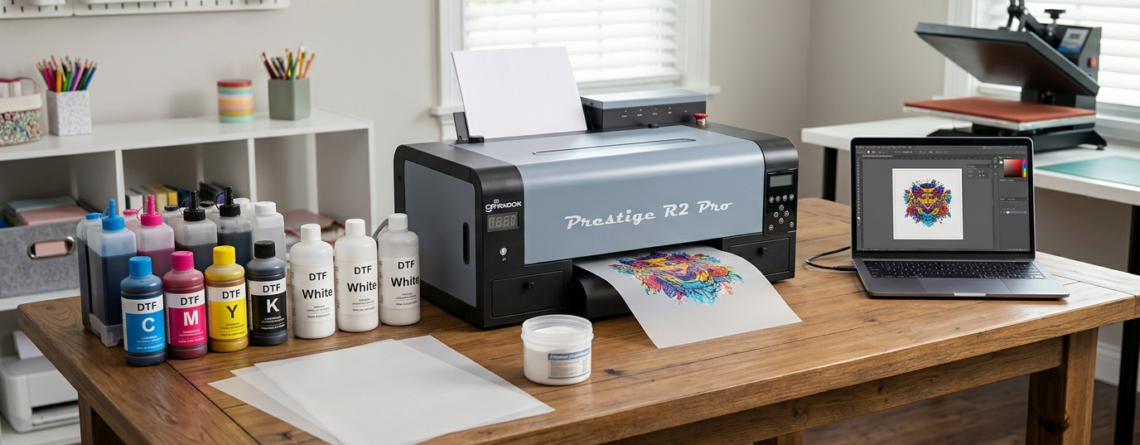
- DTF printer machine
- Ink bottles (CMYK + White)
- Power cable
- USB/Wi-Fi connection support
- RIP software (sometimes separate)
- Maintenance tools
Also, keep these ready:
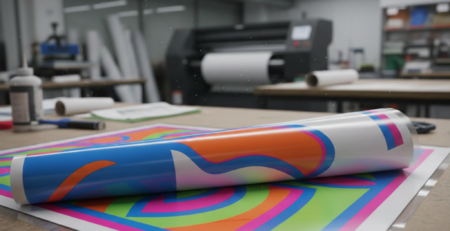
- DTF film sheets
- Powder adhesive
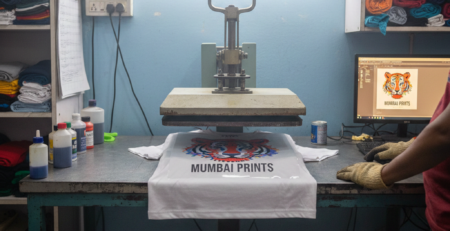
- Heat press machine
Many beginners start with printers like
🔵 ProlificGeeks DTF Printer L1800
because it is beginner-friendly.
Initial Printer Setup
Power Connection
Place your printer on a stable table. Connect the power cable and switch it on.
Important tip:
Do not plug into a loose or fluctuating power source. Use a stabilizer if possible.
This is a small step, but very important in DTF printer installation.
Location and Workspace Preparation
Your workspace matters a lot.
Choose a place that is:
- Dust-free
- Well ventilated
- Not too humid
- Away from direct sunlight
DTF ink, especially white ink, is sensitive. Poor environment can clog the printer.
Software and Driver Installation
Next step in DTF printer installation is installing drivers.
- Insert the driver CD or download from official source
- Install printer drivers on your computer
- Install RIP software
Common RIP software examples:
- AcroRip
- Kothari RIP
- EKPrint Studio
These help control ink flow and color output.
Printer Connection to Computer

You can connect using:
- USB cable (recommended for beginners)
- Wi-Fi (advanced users)
Once connected:
- Go to “Devices and Printers”
- Check if your printer is visible
- Set it as default
This step ensures your DTF printer installation is working properly.
Ink Cartridges Installation
This is one of the most sensitive parts.
CMYK and White Ink Setup

DTF uses:
- Cyan
- Magenta
- Yellow
- Black
- White (most important)
Fill each tank carefully. Do not mix colors.
Machines like
🔵 XP600
and
🔵 i3200
have strong ink systems, but still require careful handling.
Circulation and Priming
White ink settles quickly. So:
- Shake white ink bottle before filling
- Use syringe or priming tool
- Run ink through tubes
If you skip this, printing problems will come later.
Many people fail in DTF printer installation just because they ignore this step.
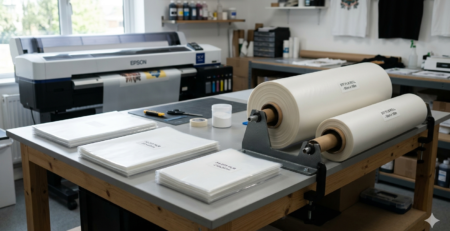
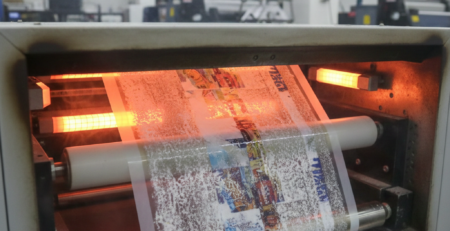
Loading DTF Film/Media
Now load the DTF film into the printer.
Steps:
- Place film correctly (print side up)
- Adjust rollers
- Align edges properly
If alignment is wrong, print will shift.

Simple check:
Run a blank feed test before printing.
Printer Calibration
Calibration ensures perfect output.
Nozzle Checks

Run a nozzle check from software.
You should see:
- Clean lines
- No breaks
If lines are missing:
- Clean printhead
- Run cleaning cycle
Alignment Procedures
Print alignment test.
Adjust:
- Horizontal alignment
- Vertical alignment
This step improves print quality.
Without proper calibration, your DTF printer installation is incomplete.
Configuration Settings
RIP Software Setup
Open your RIP software.
Set:
- Printer model
- Ink type
- Resolution
Most beginners use 1440 DPI for good balance.
Print Quality and Media Profiles
Choose correct media profile for DTF film.
Settings example:
- Mirror image ON
- White underbase ON
- Pass count: 6–8
Using wrong settings can waste ink and film.
Test Print and Troubleshooting
Now it’s time for your first print.
Start with a small design.
Check:
- Color accuracy
- White layer
- Ink spread
Common issues:
1. Faded colors
→ Increase ink density
2. White not printing
→ Check white ink circulation
3. Lines in print
→ Clean nozzle
This stage confirms your DTF printer installation is successful.
Routine Maintenance Tips
DTF printers need daily care.
Follow these tips:
- Run white ink circulation daily
- Clean printhead regularly
- Keep machine covered
- Print something daily (even small test)
Skipping maintenance = clogging issues.
Even high-end printers like
🔵 i3200
need proper care.
Conclusion and Next Steps
Setting up a DTF printer may look technical, but if you follow the steps carefully, it becomes easy.
Your focus should be:
- Correct setup
- Proper ink handling
- Regular maintenance
Once your DTF printer installation is complete, you can start experimenting with designs, fabrics, and scaling your printing business.
Key Takeaways
- Follow numbered steps for first-time success
- Do not skip ink priming
- Calibration is very important
- Start with test prints
- Maintain your printer daily
Product Suggestions
You can consider these commonly used options:
🔵 ProlificGeeks DTF Printer L1800
🔵 XP600 Printhead Printer
🔵 i3200 Advanced DTF Printer
🔵 DTF Film Rolls (A3/A4 sizes)
🔵 DTF White Ink Premium Quality
External References + Credits
Helpful resources:
- PrintIndustry.com
- Fespa.com
- InkJetInsights.com
- ResearchGate (for technical studies)
Credit: Information references from Fespa, PrintIndustry, and other public sources.
LEAVE A COMMENT