
Vinyl Printing – Best Step-by-Step Process for Beginners (Proven Results)
Table of Contents
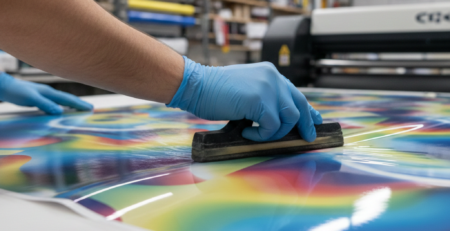
Introduction to Vinyl Printing
Vinyl printing has become a popular method for customizing apparel, accessories, and promotional items. Whether for small businesses, sports jerseys, corporate uniforms, or personal gifts, vinyl printing offers an affordable and durable solution. Many people choose it because of its sharp colors, long wash-life, and the ability to print even on darker fabrics without losing brightness.
Unlike digital screen printing or sublimation, vinyl printing does not require large production runs. One t-shirt can be printed just as easily as 100. This makes it ideal for startups and home-based entrepreneurs. In this guide, we’ll walk through the entire step-by-step process of vinyl printing from design to final finish in simple language you can apply immediately.
 -")
Designing the Artwork
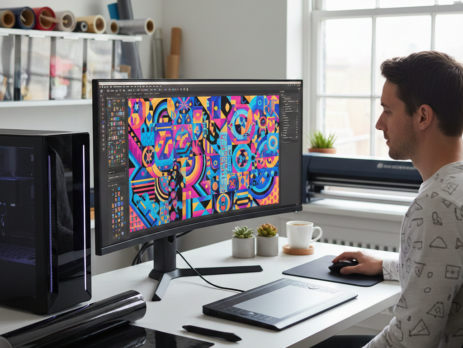
A perfect result begins with a proper design. The artwork is usually created in vector format because vinyl cutters read lines, not pixels. Tools like Adobe Illustrator, CorelDRAW, and even free software like Inkscape are commonly used.
When preparing designs for vinyl printing, avoid extremely thin lines and very tiny text. They are harder to weed later. If you are printing a sports jersey, bold numbers and clean names work best. Use contrasting colors to improve readability.
Preparing the Vinyl Material
After the design is finalized, it’s time to choose the right vinyl. There are different types, such as PU vinyl, glitter vinyl, flock vinyl, reflective vinyl, and metallic vinyl. For beginners, PU vinyl is recommended because it cuts easily and feels soft on the fabric.
Check the vinyl thickness before printing. Standard thickness for PU vinyl is around 90–100 microns. Most cutters handle this without issue. Store vinyl away from heat and direct sunlight to avoid curling.
 -")
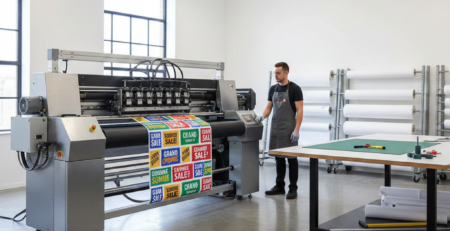
Setting Up Equipment
To perform vinyl printing, you need:
- A cutting plotter
- Heat press machine
- Weeding tools
- Teflon sheet or heat-resistant sheet
- Software for cutting
A smooth, dust-free workspace is important. Dust stuck on vinyl may create bumps on the final print.
If you’re building a home setup, these products can make the workflow easier:
Printing the Design
This is technically the cutting stage in vinyl printing. The design is mirrored (flipped horizontally) before sending it to the cutter because the adhesive side faces downward during heat pressing.
Load the vinyl into the cutter and align it properly so it moves straight during cutting.
Speed and pressure settings vary with type:
- PU Vinyl: Low pressure, medium speed
- Glitter Vinyl: Higher pressure, slow speed
It’s good to test-cut a small square at the edge before starting the full design. This saves a lot of wasted material.
Cutting the Vinyl
Once printed/cut, remove the sheet from the cutter and inspect the cut lines. You should be able to see outlines clearly without tearing. If the lines look too deep or have scratches, reduce blade pressure.
Beginners sometimes use the same settings for every vinyl type, which causes issues. A small adjustment goes a long way.
 -")
Weeding Excess Vinyl
Weeding is the process of removing the unwanted vinyl around the design. It requires patience but becomes easier with practice. Use a sharp weeding tool and gently pull the waste vinyl away from the cut areas.
For tiny inner sections like letters “A” or “O”, start slowly to avoid stretching. Using a light box or lamp beneath the vinyl can help see the cut lines better.
Helpful product for this phase:
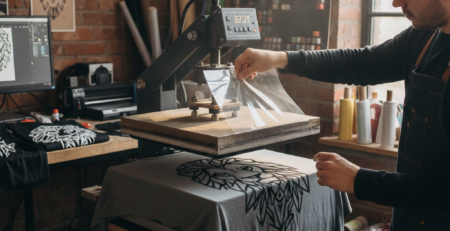
Application / Transfer Process
Now comes the heat transfer stage. Place the vinyl with carrier sheet facing up on the garment or product. Use a heat press for even pressure and temperature.
Typical heat press settings for PU vinyl:
- 150–160°C
- 10–15 seconds
- Medium pressure
Always check the instructions from the vinyl manufacturer. Some vinyls are warm-peel (remove carrier sheet immediately), while others are cold-peel (wait until it cools).
Don’t forget to pre-press the fabric for 2–3 seconds to remove moisture and wrinkles before transfer.
Finishing and Post-Processing
After pressing, check the edges of the design. If corners lift up, press for 2–3 more seconds with a Teflon sheet on top. Washing should be avoided for at least 24 hours.
A simple trick is to stretch the fabric slightly. If the vinyl flexes without cracking, it means the transfer is good. Fold the t-shirt neatly to avoid creases on hot vinyl.
Tips and Troubleshooting
Some common problems in vinyl printing and their fixes:
| Issue | Cause | Solution |
|---|---|---|
| Vinyl peeling off after washing | Low pressure or low temperature | Increase pressure or time |
| Tiny letters not cutting | Blade not sharp | Replace cutter blade |
| Vinyl looks dull | Over-pressing | Reduce heat or time |
| Bubbles under vinyl | Dust or moisture | Pre-press fabric, clean surface |
For bulk work, investing in good equipment reduces errors in the long term.
Useful reference websites for deeper learning include Fespa.com, PrintIndustry.com, and InkJetInsights.com, all of which provide professional case studies and industry news.
Conclusion
Vinyl printing is simple once the workflow becomes familiar — design, cut, weed, and heat press. It’s one of the most flexible printing methods for small and medium-scale businesses. With the right materials and tools, even beginners can achieve professional results.
If you want to start printing at home or expand an existing business, begin with a handful of vinyl rolls, test different fabrics, and keep improving your workflow step by step.
Leave a Reply