
DTF Printing Guide: 8 Powerful Steps in the Complete Printing Process
Table of Contents
Introduction to DTF Printing
DTF Printing is one of the most practical and flexible printing methods used today. It allows you to print designs on a special film and then transfer them onto almost any fabric. Cotton, polyester, blends, light or dark colors DTF Printing handles all of them with ease.
Unlike traditional screen printing, DTF Printing does not need fabric pretreatment. Unlike DTG, it works well on dark garments and textured materials. That is why many small businesses, print shops, and home printers are switching to DTF Printing for daily production.
In this guide, you will learn the complete step-by-step process of DTF Printing, explained in simple language, based on real shop experience.
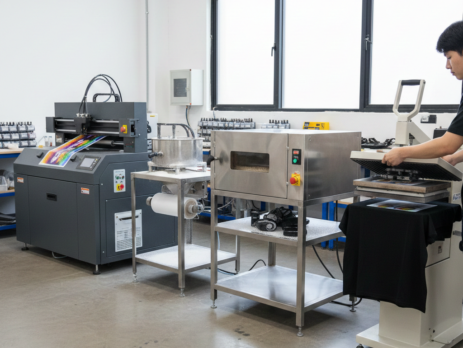
Required Equipment and Materials
Before starting DTF Printing, make sure you have the right tools. Using proper materials saves time and avoids common mistakes.
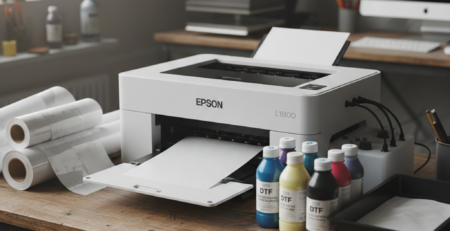
You will need:
- DTF Printer with CMYK + White ink support
- DTF Inks
- DTF PET Film (Hot or Cold Peel)
- DTF Hot Melt Powder
- Heat Press Machine
- RIP Software
- Cleaning tools and lint-free cloth
Many print shops use printers like those compatible with DTF Printers because they support white ink circulation and stable output.
For film quality, DTF PET Films available at DTFshop.in are commonly used for sharp transfers and smooth peeling.

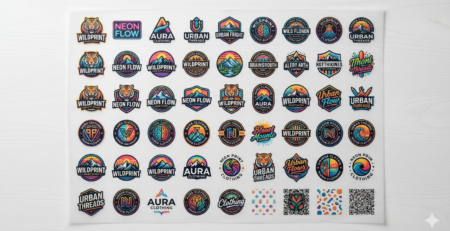
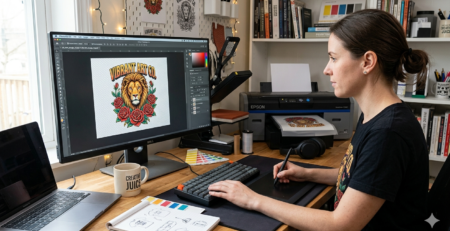
Step 1: Design Preparation
Every successful DTF Printing job starts with a good design.
Use software like Photoshop, CorelDRAW, or Illustrator. Keep the background transparent. Avoid thin lines if you are printing on rough fabrics.
Set resolution to 300 DPI. Use RGB color mode for better color conversion in RIP software. Always mirror the design before printing.
A simple test print on film can help you avoid wasting materials later.
Practical Tip:
If you are printing text-heavy designs, slightly thicken the font. Thin fonts may break during transfer.
Step 2: Printer Setup
Proper printer setup is critical in DTF Printing.
Shake white ink bottles gently before loading. White ink settles quickly. Run a nozzle check every day before printing.
Load the DTF PET Film correctly. The matte side should face the ink. If ink smudges, you may be printing on the wrong side.
Most printers perform better when used daily. Idle printers can cause white ink clogging.
Using DTF Inks from DTFshop.in ensures better adhesion and color stability during heat transfer.
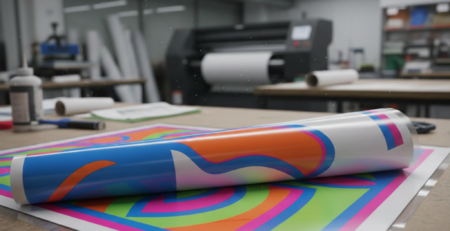
Step 3: Printing the Design
Now print the design onto the film.
The printer lays CMYK colors first and then prints a white ink layer on top. This white layer is what makes the design pop on dark fabrics.
Do not rush printing speed. Slow and steady output gives better ink coverage.
After printing, let the film rest for a few minutes before powder application.
Real-life Example:
Many beginners rush this step and smudge wet ink. Waiting just 3–5 minutes makes a big difference.

Step 4: Powder Application
This is a key step in DTF Printing.
While the ink is still wet, sprinkle DTF hot melt powder evenly over the design. Shake off excess powder gently.
The powder should cover only the inked area. No powder should stick to blank film areas.
High-quality powders like DTF Hot Melt Powder from DTFshop.in melt evenly and give soft prints.
Tip:
Always apply powder in a well-ventilated area. Fine powder particles can float in the air.
Step 5: Curing the Powder
After powder application, the film must be cured.
You can cure using:
- Heat press (hover method)
- Curing oven
- Conveyor dryer
Set temperature around 110–130°C. Cure until the powder turns glossy and melts fully.
Do not overheat. Burnt powder causes rough texture and weak adhesion.
According to technical explanations shared on ResearchGate, proper curing temperature directly affects wash durability.

Step 6: Pre-Pressing Fabric
Before transferring the design, pre-press the garment.
Press the fabric for 5–10 seconds. This removes moisture and wrinkles.
Skipping this step may cause uneven transfer or peeling issues later.
This step is especially important for cotton fabrics and hoodies.
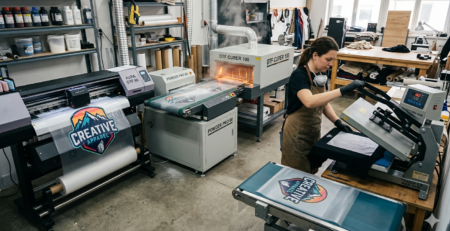
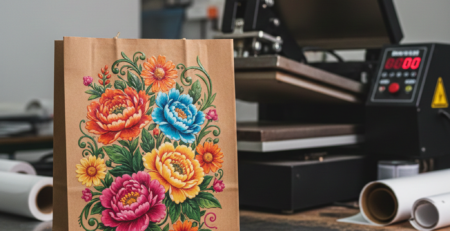
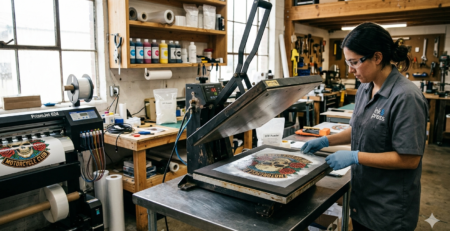
Step 7: Transfer with Heat Press
Now comes the main transfer step in DTF Printing.
Place the cured film on the fabric, design facing down.
Set heat press to:
- Temperature: 150–165°C
- Pressure: Medium to high
- Time: 10–15 seconds
Press evenly. Uneven pressure leads to patchy transfers.
Heat presses like those compatible with Heat Press Machines from DTFshop.in give consistent pressure and temperature.
Step 8: Peeling and Finishing
Peeling depends on the film type.
- Hot peel: Peel immediately after pressing
- Cold peel: Let it cool completely
After peeling, do a second press using parchment paper or Teflon sheet for 5 seconds. This improves durability and soft feel.
Your DTF Printing transfer is now complete.

Common Tips and Troubleshooting
Here are practical tips based on daily shop use:
- Design cracking: Increase pressure or curing time
- Print not sticking: Check powder coverage
- Dull colors: Increase white ink density
- Rough texture: Reduce powder quantity
Websites like Fespa.com and InkJetInsights.com often share real-world testing insights that help improve DTF Printing quality.
Product Suggestions (Used Naturally in Content)
External References + Credits
Helpful reading sources:
Credit: Information references from Fespa, PrintIndustry, and other public sources.

Leave a Reply