DTFShop benefitSave up to 20.7%
Includes eligible prepaid saving before GST/fees
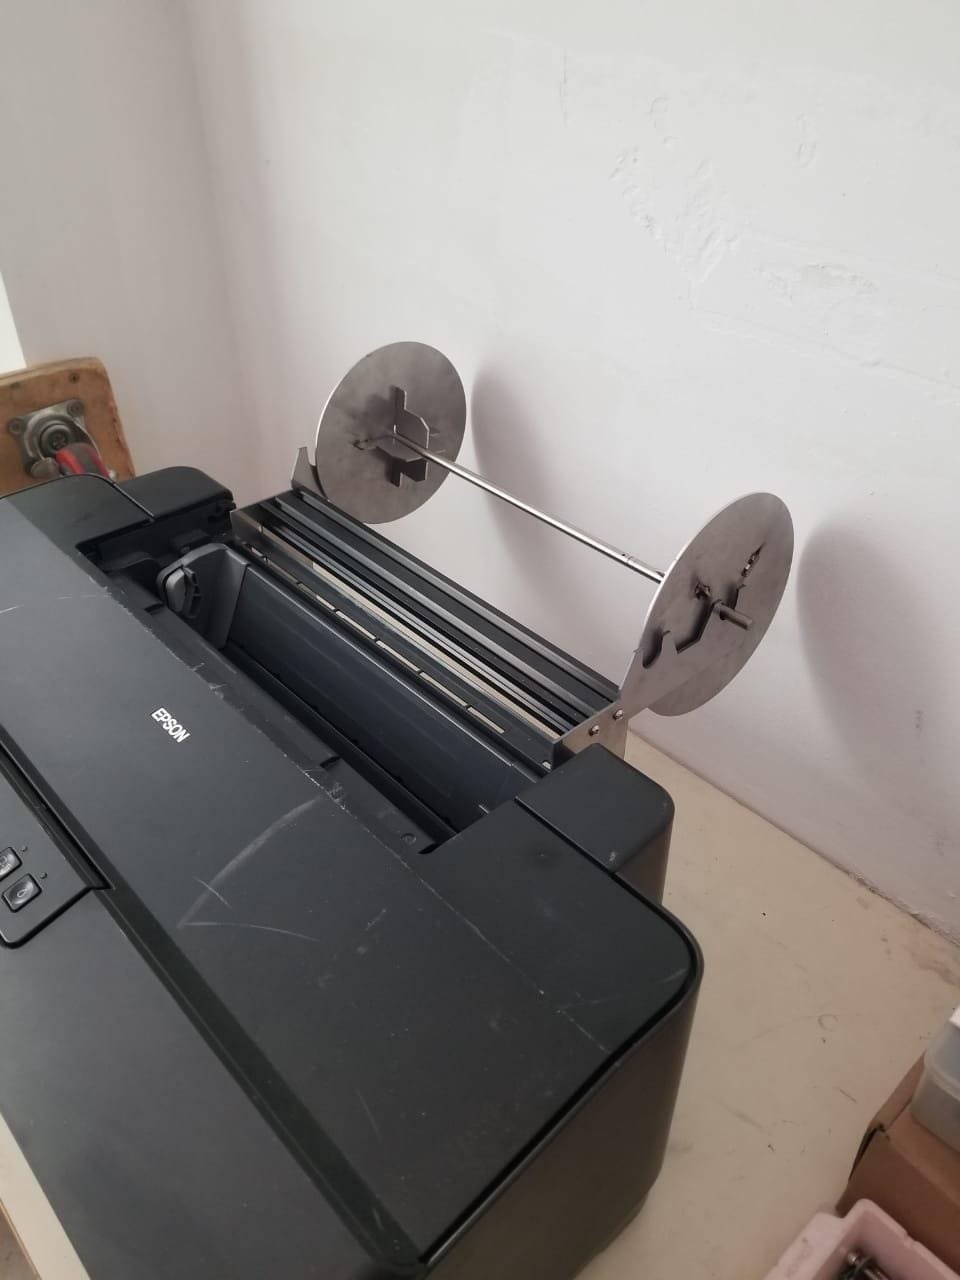
DTF A3/A4 Roll Stand is a DIY A3/A4 roll-holder assembly with an aluminium construction. The stand supports the media roll outside the printer so film or paper can unwind along a straighter path.
DTF A3/A4 Roll Stand is a DIY A3/A4 roll-holder assembly with an aluminium construction. The stand supports the media roll outside the printer so film or paper can unwind along a straighter path. It does not replace the printer feed mechanism or control feed tension electronically.
What you receive for the listed price
One DTF A3/A4 Roll Stand (DIY Assembly Kit) in the selected configuration.
This price is for one piece; a complete printer, ink supply and unrelated assemblies are separate.
Applicable taxes and shipping, where relevant, are shown at checkout. Gallery guides and demonstration equipment explain use; they are not additional supplied items.
Smart Online SavingsYour order cost, explained
Compare automated website ordering—including COD, card/digital payments, rewards and coupons—with a manual/offline order.
Order on DTFShop.inRecommended
Product value₹3,000.00
Prepaid discount (7.5%)−₹225.00
Website shippingCalculated by weight at checkout
GST (18%)+₹499.50
Estimated platform fee (2.36% of total)+₹79.15
Estimated prepaid subtotal₹3,353.65
Weight-based shipping will be added at checkout
Online purchase rewardsEarn and use eligible rewards
Purchase + email couponsGet eligible coupon offers and free promotional coupons by email
✓ Order online anytime, from anywhere✓ Choose COD where available✓ Pay securely by credit card or available digital payment methods✓ Immediate digital payment proof and automatic order confirmation✓ GST invoice available without manual follow-up✓ Automatic tracking and WhatsApp order updates✓ Earn rewards on eligible completed online purchases✓ Receive eligible purchase coupons and free promotional coupons by email
Manual / Offline Order
Product value₹3,000.00
Manual / offline shippingCalculated by actual weight and location
GST (18%)+₹540.00
Prepaid website discount₹0
Website rewards / coupon₹0
Estimated manual order subtotal₹3,540.00
Actual weight/location-based courier charge is extra
• Payment coordinated manually through WhatsApp/bank transfer• Confirmation and invoice may require manual processing• Courier charged on the actual/manual booking basis• Shipment timing and updates are coordinated manually
Estimated saving by ordering prepaid on DTFShop.in₹186.35
before weight-based shipping and any additional eligible rewards or coupon saving
How this estimate works:
Website example uses the 7.5% prepaid discount only when the eligible value is ₹10,000 or below, plus GST 18% and an estimated non-EMI platform fee equal to 2.36% of the subtotal including that fee. Shipping, coupons and final taxes are confirmed at checkout.
Website and manual/offline shipping are excluded from these subtotals because courier charges are calculated from actual weight, dimensions and delivery location.
Final checkout or confirmed manual quotation is authoritative and can change with shipping, coupon, rewards, variation and payment method.
Frequently bought together
Complete your setup
Useful add-ons commonly paired with this product. Choose only what you need.
DTF A3/A4 Roll Stand is a DIY A3/A4 roll-holder assembly with an aluminium construction. The stand supports the media roll outside the printer so film or paper can unwind along a straighter path. It does not replace the printer feed mechanism or control feed tension electronically.
What you receive for the listed price
One DTF A3/A4 Roll Stand (DIY Assembly Kit) in the selected configuration.
This price is for one piece; a complete printer, ink supply and unrelated assemblies are separate.
Applicable taxes and shipping, where relevant, are shown at checkout. Gallery guides and demonstration equipment explain use; they are not additional supplied items.
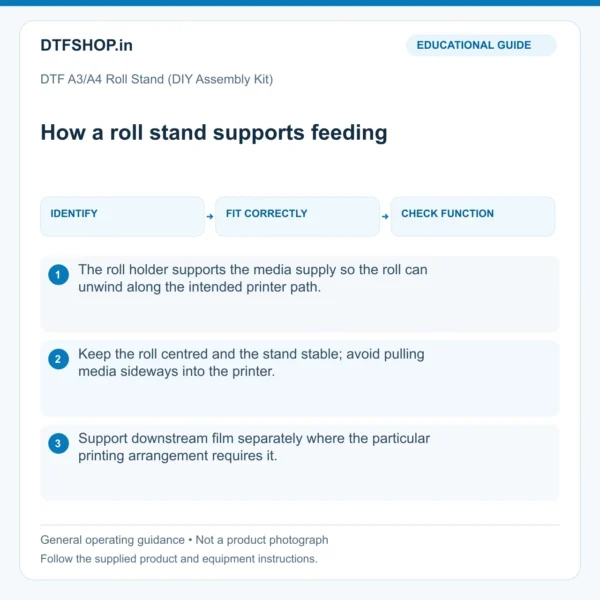
Product view (DIY Assembly Kit).Illustrated guide: how a roll stand supports feeding. Educational illustration, not a product photograph.
Fitment and the surrounding system
A replacement component works as part of an existing machine. Matching the physical interface, electrical specification where relevant, and the original operating function is essential. A similar product name is not a substitute for those interfaces.
Product view (DIY Assembly Kit).
Daily use and practical checks
When working with DTF A3/A4 Roll Stand, align the roll centreline with the entry guides. A tilted or heavy-running roll can pull the media sideways, especially when the roll is nearly full.
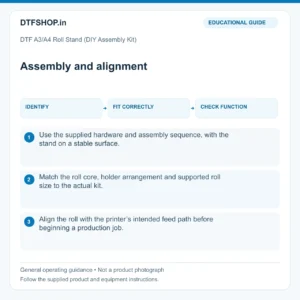
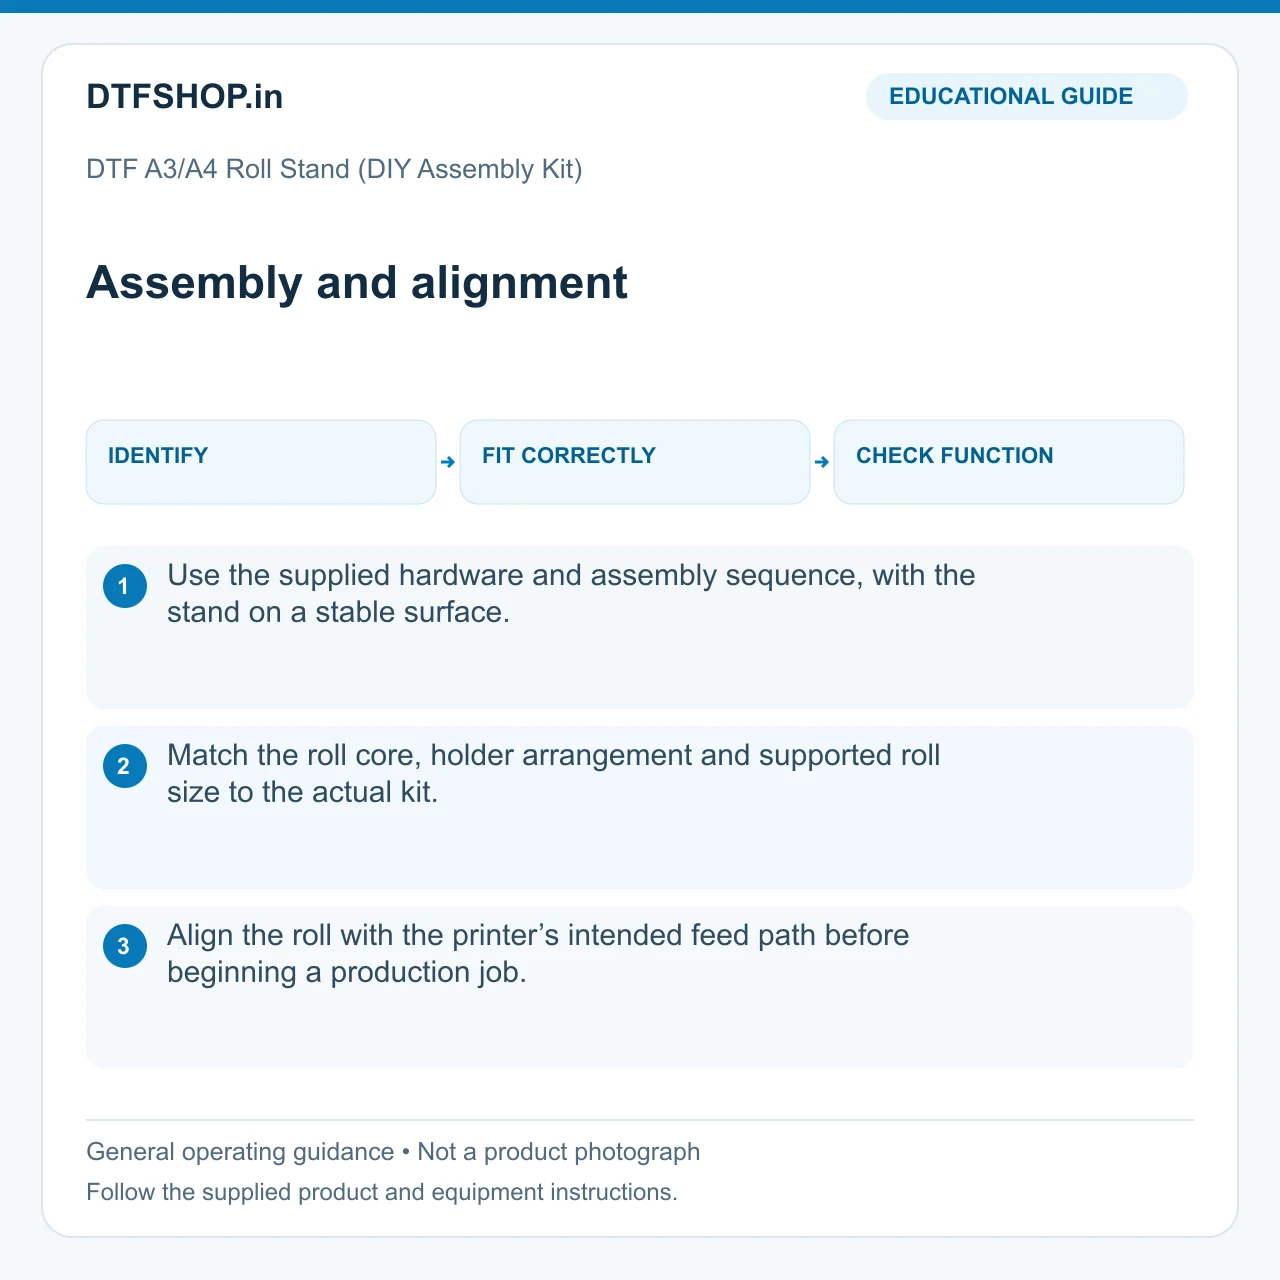
Illustrated guide: assembly and alignment. Educational illustration, not a product photograph.
A practical service approach
For DTF A3/A4 Roll Stand, isolate the equipment before mechanical or electrical service. Record the original routing and orientation, keep the work area clean and avoid forcing a component into position. After fitting, use the machine's normal service checks to establish that the original symptom has been resolved.
Product view (DIY Assembly Kit).
How this component fits into the printer
Printer service parts belong to a connected mechanical, fluid or electrical system. Their value comes from restoring the intended function at a particular point in that system. A component close to the printhead can influence ink delivery or sealing; a motion or sensing component can affect the way the machine positions and monitors its working parts.
The role described above identifies the purpose of this item. Understanding that role helps distinguish the component itself from adjacent parts that may produce a similar symptom. It also gives the replacement a clear technical objective rather than treating it as a general upgrade.
The interfaces that determine fitment
Useful identification points include the mounting position, hole pattern, port arrangement, connector type and relevant dimensions. Where a component is electrical, its rating and pin arrangement matter as well as the outside shape. Where it carries liquid or air, the connection size, seal geometry and intended flow path matter.
Compare those features against the original assembly and the machine documentation. Printer and head-family names help narrow the application, but conversion layouts and revisions can differ. Keep the old part available as a physical reference until the service work and the normal operating checks have been completed.
Diagnosing the surrounding fault
Start with a clear record of the symptom: which channel, movement, connection or operating step is affected, and whether the issue is constant or intermittent. Inspect accessible surrounding parts for contamination, loose connections, wear or mechanical obstruction before deciding that one component explains everything. A defect that appears only during carriage movement can have a different cause from one present while the machine is parked.
Methodical observation saves unnecessary changes. Record the original condition before dismantling, especially when several similar connectors or tubes are grouped together. This makes the installation easier to verify and the repair history more useful later.
Preparing for controlled replacement
Use the equipment's shutdown and isolation procedure before mechanical or electrical work. Allow hot or moving assemblies to reach the safe service state specified by the manufacturer. Photograph the original routing and orientation, identify each connection and prepare a clean place for small fasteners. Keep ink residue, dust and loose hardware away from sensitive surfaces and exposed connectors.
A correct replacement should seat according to its intended mounting arrangement. Forcing a fit or adding improvised spacers can transfer stress to neighbouring components and create a second problem. Tasks involving head wiring or machine calibration are best handled by a suitably experienced technician.
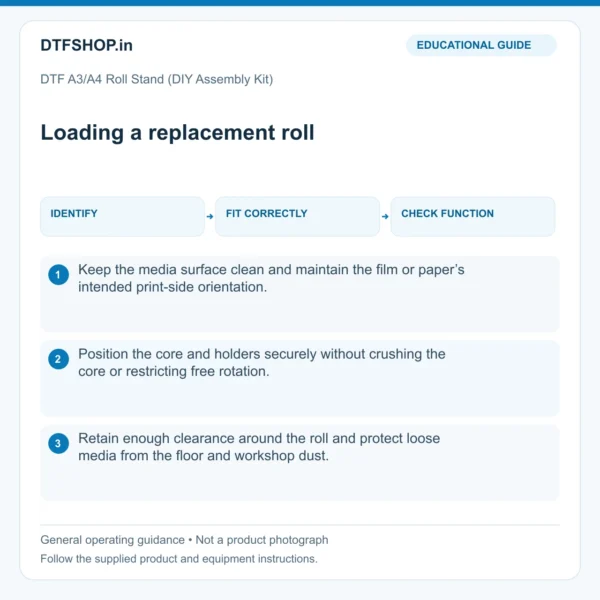
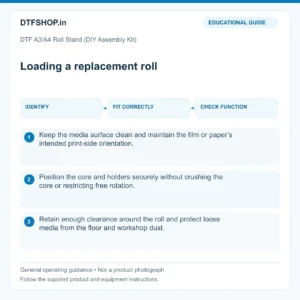
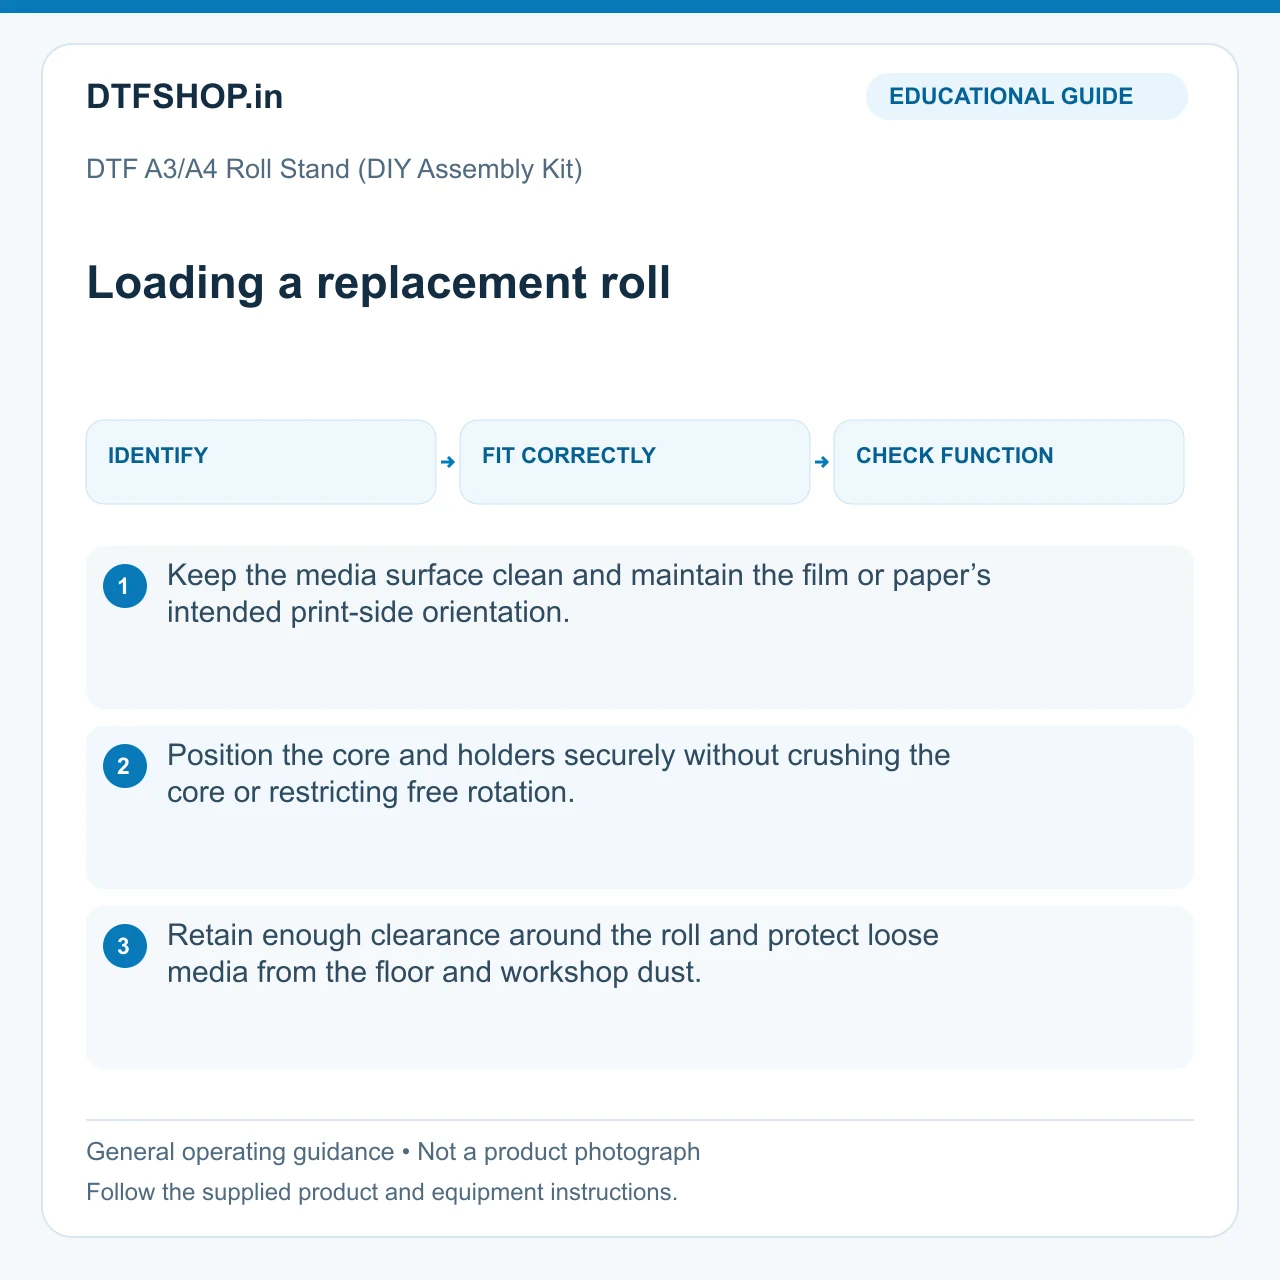
Illustrated guide: loading a replacement roll. Educational illustration, not a product photograph.
Checking the result after installation
Reassemble the working area fully and follow the normal service checks for the affected system. Depending on the component, this may involve confirming leak-free connections, unobstructed travel, a correct sensor response or the machine's approved nozzle and alignment checks. Observe the original symptom again under the same operating conditions used for diagnosis.
A brief successful power-up is useful, but it is not a complete result for an intermittent fault. Start with a controlled test rather than immediately committing a long production job. Keep the first sample or service record so any remaining issue can be compared against a clear baseline.
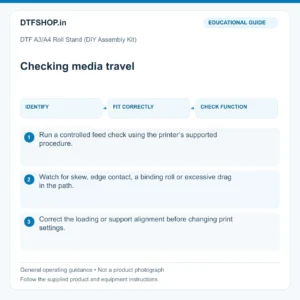
Illustrated guide: checking media travel. Educational illustration, not a product photograph.
Service life and sensible maintenance
Operating conditions and maintenance history influence how service components behave over time. Keep the relevant area clean, protect connections from strain and follow the machine's replacement or inspection schedule where one is specified. Service life varies with the application and maintenance. A replacement restores its intended function within the existing system; it does not change the printer’s overall specifications.
Record the installation date, part identification and observations from the test. If the same symptom returns, that history helps identify a recurring issue elsewhere in the machine rather than repeating the same replacement without understanding why the component is being affected.
Recommended Add-ons from DTFShop
To complete the workflow, you may also check these related DTFShop products when they match your machine or printing process:
Reference videos explain a method or related model. They do not certify your supplied machine, consumable batch or print results. Follow the exact product manual and recommended settings.
Practical questions
Does replacing this part fix every printing fault?
No. Use the original symptom and the component’s function to guide diagnosis. Ink starvation, a poor cap seal, damaged wiring and a failed nozzle can create similar output problems. Compare the normal service checks before and after replacement so a different fault is not mistaken for a defective new part.
What should I record after fitting?
Keep the part identity, installation date and the result of the machine’s normal service test. Note any change to connections, routing or alignment. A short record makes repeat maintenance easier and helps identify a fault that returns elsewhere in the system.
Additional information
Weight
5 kg
Dimensions
20 × 15 × 10 cm
3 reviews for DTF A3/A4 Roll Stand (DIY Assembly Kit) – Premium Aluminum Roll Holder for DTF & Sublimation Printers | ProlificGeeks
5 out of 5
Aarya–
Built with strong metal construction overall nice product
5 out of 5
Monish–
Adjustable height and width for multiple printer models
4 out of 5
Rajesh Kumar–
Sturdy aluminum roll holder frame. Simple DIY assembly kit that stabilizes 100m rolls perfectly without friction.
Continue on WhatsAppPlease share your details so our team can help you faster.
DTF A3/A4 Roll Stand (DIY Assembly Kit) – Premium Aluminum Roll Holder for DTF & Sublimation Printers | ProlificGeeks₹3,500.00Original price was: ₹3,500.00.₹3,000.00Current price is: ₹3,000.00.








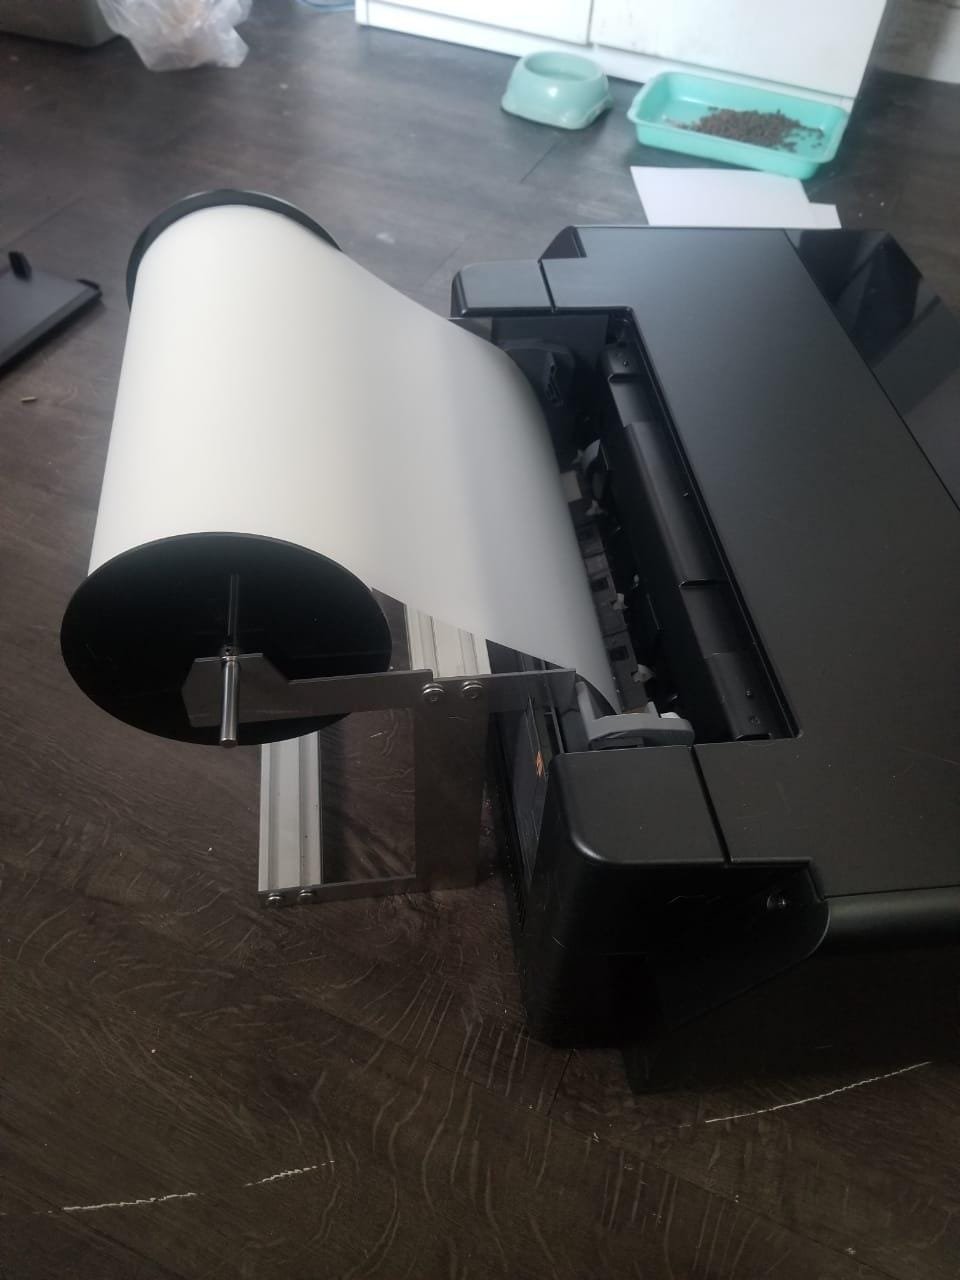


Aarya –
Built with strong metal construction overall nice product
Monish –
Adjustable height and width for multiple printer models
Rajesh Kumar –
Sturdy aluminum roll holder frame. Simple DIY assembly kit that stabilizes 100m rolls perfectly without friction.